June 3, 2021

Oatmeal cookies – hypoallergenic, vegan, dairy free, nut free, wheat free, oil free, sugar free (and magically still so tasty!)

by cillefish

I’ve been having some crazy allergic reactions to …something… it’s unclear what. So I’m on a hypoallergenic diet at the moment, which means no dairy, no wheat, no nuts (basically, all that good stuff). This makes finding allergy friendly cookies a bit tricky.

Looking online for “hypoallergenic cookies” I didn’t find much. A lot of the vegan recipes call for butter substitutes, which I’m trying to avoid; or nuts or wheat, which aren’t hypoallergenic. So I decided to repurpose my favorite oatmeal cookies recipe (the Cook’s Illustrated oatmeal chocolate chip recipe) with some adjustments to switch out the problem stuff, and make my own allergy friendly version.

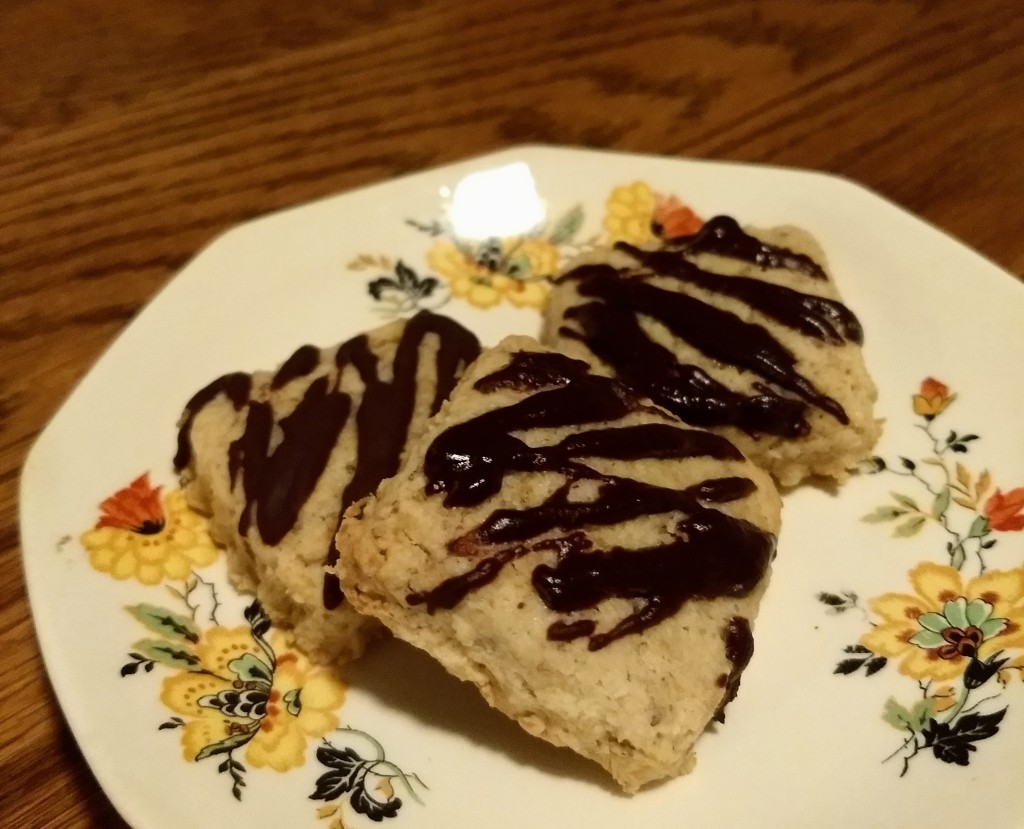
They turned out great! Crunchy on the outside and moist and chewy on the inside, with a really comforting oatmeal cookie flavor.

I haven’t tried making them “big cookie” size; if you want to give that a go you might want to reduce the oven temp to 325⁰F. My significant other says these are the cookie version of a bowl of oatmeal, so they might be good with an added 1/2 c raisins too if you feel comfortable adding those.

Note on allergies: Theoretically it’s possible to develop an allergy to anything, so if you aren’t sure what you are allergic to, ask your doctor about the ingredients you see below before eating them.

  • These DO contain garbanzo beans, and rarely some people may be allergic to beans. As long as you don’t have a true bean allergy, even for those whose stomachs are sensitive to most beans, garbanzo beans tend to be very tummy-friendly.
  • The sugar I used, lakanto, does have xylitol in it, which may make some people a bit gassy. If you’re sensitive to that you may want the reduce it to 1 cup and avoid eating a very large amount of cookies at one sitting.
  • If you are cooking for someone who has an allergy, check with them first if these ingredients are OK. Many people with a general gluten allergy are fine with oats, but people who have celiac disease may not be.
  • The term “oil free” is widely misused to mean the same thing as “no added oil” or even “lots of oil but from whole foods only.” Technically these cookies do contain a bit of oil from the garbanzo beans, but it is a very small amount and not very likely to pose problems for people who are having trouble processing fats.

Hypoallergenic Oatmeal Cookies (vegan, dairy free, sugar free, oil free, nut free)

Ingredients:

  • 1 1/4 c oat flour (from old fashioned oats — see instructions)
  • 1/4 tsp salt
  • 1/2 tsp baking powder
  • 1/4 tsp cinnamon
  • 1/4 tsp allspice
  • Pinch of ground ginger
  • Pinch of ground clove
  • 1/3 cup garbanzo beans, reserve the water from the can separately
  • 2 c summer squash, diced
  • 1 1/4 c lakanto monkfruit sweetener brown sugar style (if you’re using another sugar replacement you may need to use less)
  • 2 1/4 c old fashioned oats

Instructions:

  1. Preheat oven to 350⁰F. Put parchment paper on 2 baking sheets and set aside.
  2. To make oat flour, measure out old fashioned oats to the desired amount you want to have as flour, plus 1-2 Tbsp. Run these oats in food processor until flourlike.
  3. Thoroughly mix oat flour with other dry ingredients except actual oats, in a bowl. Set aside. Rinse food processor.
  4. Put beans, squash, and 1/4 to 1/3 c of bean water into food processor (1/3 c is better if you are at a higher altitude). Process until it is smooth and about the same wetness as apple sauce. Put wet ingredients mix in a medium or large mixing bowl.
  5. Mix dry ingredients into wet. Now mix in oats. Mix should be only a bit more crumbly than normal oatmeal cookies dough, and should hold together well if you squeeze it into a ball. If it’s too dry, add more bean water.
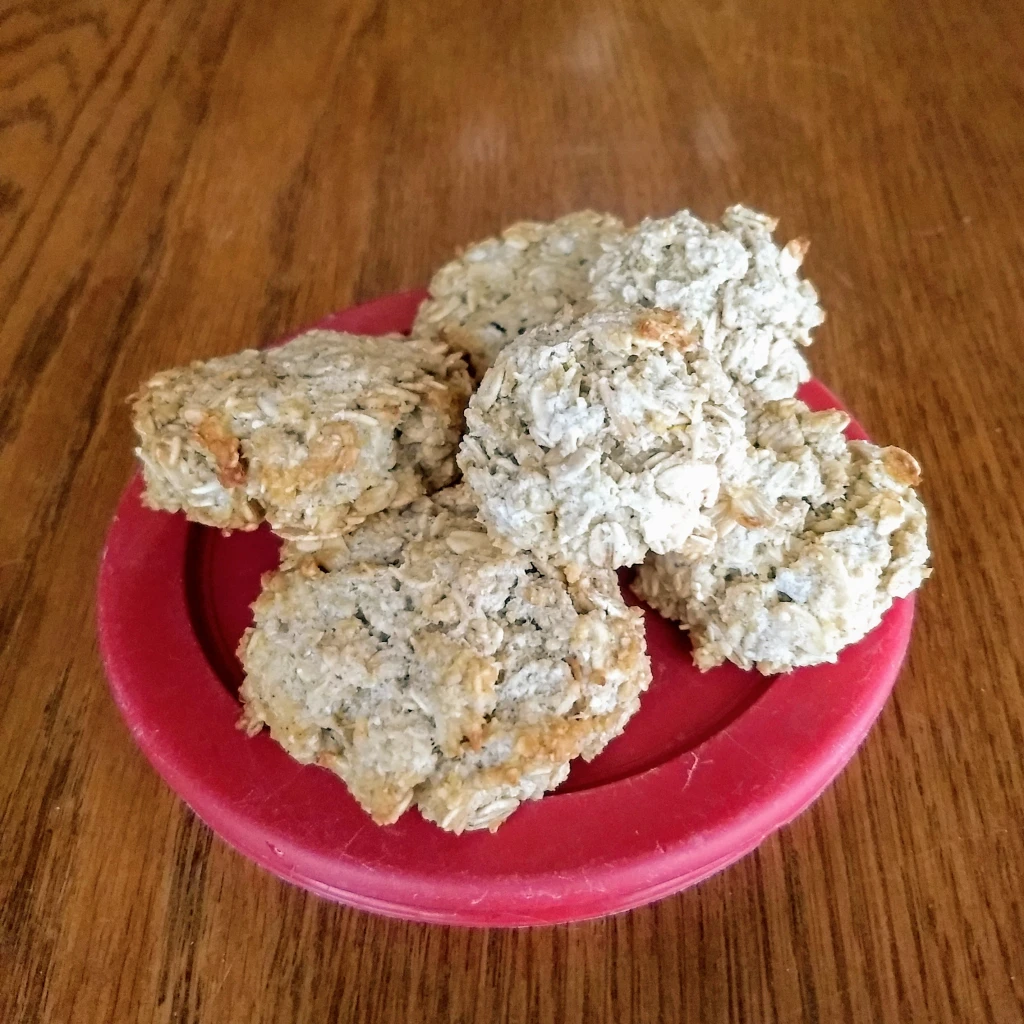
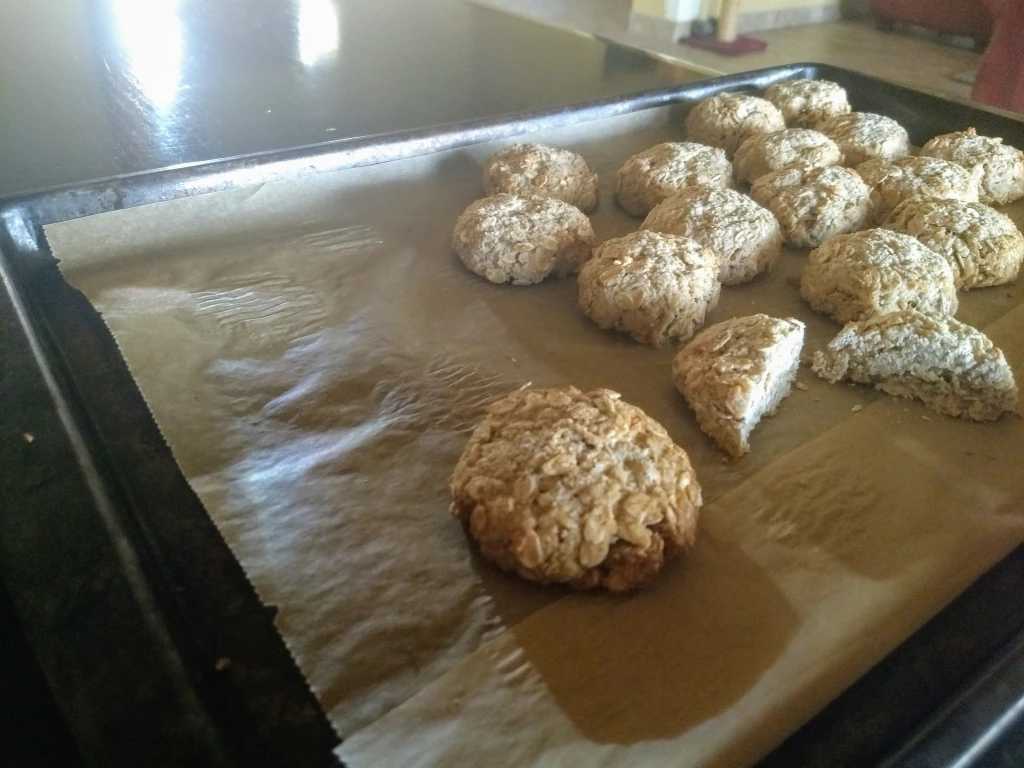
  6. Squish 1-2 Tbsp of mix into a ball in your hand or using a measuring spoon, and place on parchment-paper-lined cookie sheet. If doing 2 Tbsp size cookies (1st photo below), flatten them into thick discs and then flatten sides so each cookie is a sort of small hockey puck shape. If doing 1 Tbsp tea-cookie size (2nd photo below), you can use a round tablespoon measuring spoon to scoop them out. You can space these (either size) about an inch apart, they will puff upward a bit but not really outward.
  7. Bake about 12 minutes or until toasted a light brown around the tops. If you like a more doughy cookie, cook only until just barely toasted on tips of tops (like in 2nd photo below)
  8. Remove from oven, and take cookies off of sheet to cool for at least 5min before eating. Store in an airtight containers about a week. These would probably also freeze well.
2 Tbsp size hypoallergenic oatmeal cookies, shaped and ready to pop into the oven
More oatmeal cookies, still allergy friendly, these are 1 Tbsp size and just-baked.
April 18, 2021

Cream Cheese & Lime Shortbread Cookies

by cillefish

I wanted to make a cookie that would use cream cheese but not as a sauce (or filling or frosting). These cream cheese shortbread cookies were a perfect solution: easy, very much shortbread, and with a nice little twist of “something else.”

These are great on their own, or you can add a jam middle to the cookies themselves before baking (two options below) or serve the cookies with jam for a lovely contrast to both the cream cheese and the lime.

Recipe adapted from the one at Chelsweets.

Notes

Ingredients preview: full-fat cream cheese, butter, granulated white sugar, flour, baking powder, vanilla, lime, jam (optional). Jump to recipe

  • Cream cheese — You can use just 3/4 of the block if you want. I used that plus one more notch, so 7/8 — leaves just enough for a morning bagel.
  • Lime – I used the juice of one smaller lime. A key lime or calamansi would also probably be fine. For an extra depth of flavor you can try including zest from 1/2 to 1/2 half the surface of the lime, in addition to the lime juice. Or bottled lime juice is probably fine too.
  • Flour — I used all-purpose flour but replacing 1/4 of the flour with rice flour, or krispies cereal run in the food processor might add to this. I’ll try that next time. Sweet thing out the flour for pastry flour, and sugar for confectioner’s sugar, might yield a more delicate texture overall but I feel the cream cheese makes these smooth enough.
  • Vanilla — I prefer higher quality vanilla and use less of it. Cook’s vanilla has very good options, their cookie vanilla is my favorite for cookies overall, especially the brown-sugar oatmeal chocolate chip cookies I’ve made since college.
  • Jam — I used a pomegranate jam, Crofter’s Organic Pomegranate power Superfruit Spread, I think I got it at Sprout’s. It was lovely. A natural organic raspberry or blueberry jam would also be very nice. I have instructions below to put a bit in the middle of each cookie on top, like in Christmas meltaway cookies, or hidden inside for a surprise.
  • Trick for room temperature butter — Like many people I usually forget to set out the ingredients soon enough ahead of time to allow them to reach room temperature on their own. In this case I cut the cream cheese and butter into half-tablespoon slices and put them into the big mixing bowl (the one I plan to use for the cookies), spaced out as much as I can (butter upright like a book on a shelf where possible). Then I microwave it on half to 3/4 power in 15-second increments until it’s softened. Do not let it melt!! If you start to smell toasty cheese or see a bit of melted butter, stop!
  • Cooling the dough — It’s better to stick it in the fridge for a few hours before forming the cookies and a few hours after. I put in the fridge an hour before and in the freezer for 15min after.

Cream Cheese & Lime Shortbread Cookies (Jam Filling Optional)

Ingredients

  • 3/4 c + 1tbsp of a block (7/8 of the block) of full-fat cream cheese, at room temp
  • 11 tbsp (about 1 1/4 stick) butter, at room temp
  • 1/2 c granulated sugar
  • 1/2 tsp or up to 1 tsp vanilla extract
  • 1 2/3 c all-purpose flour
  • Optional: Jam

Steps

  1. In a medium or large mixing bowl, use a hand mixer to cream together the cheese, butter, and sugar until fully combined and silky looking. The original recipe recommends to do this vigorously to introduce more air, so you may be able to whip it slightly and see it increase in volume just a bit.
  2. Add vanilla and lime. Continue mixing until combined. Taste-check if you’re a vanilla fiend and prefer more.
  3. Using a fork, mix in third-cup amounts of flour, folding in (mixing “up” from bottom) so as not to lose volume.
  4. Cover and set in fridge for at least an hour, ideally 2+
  5. On a lightly floured surface, roll out dough. If using no jam or jam on top only, roll to 1/2 to 3/4 inch thick. If using jam in the middle, roll to 1/4″ thick.
  6. Cut out circles using a shot glass or other small cookie cutter (you do not want them too big). I used my ravioli stamp. Place on parchment-paper on cookie sheet for now, at least 1/4 inch apart if using no jam (if using jam you can rearrange them after the next step). Continue cutting out, re-rolling as needed until all dough is used.
  7. If you are including jam on top only, use your finger to make a dent in the top and add a a small amount of jam (about 1/4 tsp) into that. If you are including jam inside, first use water to wet the outside edge of the bottom piece and top piece of cookie. Then use a finger to dent both pieces on the wet side. Put your bit of jam in the middle and place the top cookie on top, wet sid down. Press around the edge (from the outside edge, in) just enough to get the two pieces to meld. If jam squirts out, you can repair it with a bit of dough.
  8. Place on parchment paper on cookie sheet at least 1/4″ apart, cool again in fridge for 2+hours or in freezer at least 15min.
  9. Bake for 10-20min, until just barely blushing at the bottom corners and at the crusty tops of a few of the cookies. Do not overbake!! Cookies will be too soft straight from the oven, that’s OK. Let sit 10min before removing.
December 3, 2020

Shredded Wheat shortbread cookies with chocolate drizzle (vegan)

by cillefish

This is a great use for leftover (dry) shredded wheat cereal. Makes a dense shortbread-like cookie with a bit of crunch and just enough of a hit of chocolate to keep me happy.

Background

Sometimes I make a recipe and I love the idea or some key part of it, but there are also a few things about it that just bug the bejeezes out of me and I want to KEEP making the recipe again until I get it where I want it to be. Sometimes it works out! This is one of those.

Original/source recipe

This started out as the vegan chocolate oatmeal bars from A Virtual Vegan, which are very tasty but also, for me, posed some interesting questions.

Pros:

  • Oatmeal and chocolate!
  • Nice, dense texture with a bit of crumbly crunch!
  • A bit sweet but not very sweet!
  • Just enough salt to add a little savory something!
  • Vegan!

Cons:

  • Chocolate ganache used a lot of milk so it was very loose and did not want to set even after some time in the fridge.
  • The loaf-slice “bar” format seemed fun until I tried to eat a piece. I ended up with a rather large bread-slice of cookie/cake, with a bunch of chocolate ganache on top that wanted to fall off (or was all to one “side” depending on how you eat it. Kind of like if your pizza cheese was an inch thick and located only on the edge of the crust).
  • Shocking to say, but it seemed like too much chocolate (???? …I know.)

Some of this maybe was me not doing the original recipe quite right the first time, who knows. But I kept mentally puzzling over WHY the recipe didn’t end up being what I thought it COULD be and/or wanted it to be. So I thought about it for two weeks and then made these.

My version

This recipe is still kind of in process so I might make a few more changes, but the key things I adjusted for now were:

  • Subbed almond flour for 1/3c of the normal flour to give it a bit of extra density
  • Replaced oats with shredded wheat cereal, whirled in food processor (no real reason for this other than that M. bought cereal he decided he didn’t want and I wanted to bake something with it)
  • Increased milk since ground up cereal soaked it up
  • Reduced salt a bit
  • Halved chocolate
  • Reduced amount of milk added to chocolate to make ganache so it would be less runny
  • Instead of putting in a loaf pan, I rolled this out in a thick dough and stamped out as cookies.

What I’m still thinking about: Next time I will try adding a pinch of nutmeg to the dough, and maybe something fun into the chocolate (peanut oil? Rum flavored extract?). Maybe add a very small splash of lemon or Apple cider vinegar in the dough and then reduce the salt a bit. Some crushed, toasted nuts (cashews?) might be nice. But I’m happy with this version (for now).

Recipe for Shredded Wheat shortbread cookies with chocolate drizzle

Makes: About 34 2″ cookies.

Prep time: 60 to 90 min

See bottom of post for photos.

Ingredients:

  • 1 1/2 c plain shredded wheat cereal, crushed and whirled in food processor before measuring. (If you buy the large shredded wheat “biscuit” type that comes in squares the size of a small country, this is 4 squares or 2 packets. I used Barbara’s brand)
  • 1 2/3 c all purpose flour
  • 1/3 c almond flour
  • 1/2 tsp baking powder
  • 1/8 tsp salt (up to 1/4 tsp of you are used to more salt in food)
  • 1 c sugar
  • 1 tsp vanilla
  • 1c to 1 1/2 c unsweetened dairy-free milk (I used Almond Breeze Unsweetened Vanilla), separated into: 1/2 c, 1/4 c, and “the rest”
  • 1/2 c coconut oil, melted together with only 1/2c almond milk.
  • 1/2 c vegan semisweet chocolate chips

Instructions:

  1. Preheat oven to 350⁰F and put parchment paper on 2 baking sheets.
  2. In a large bowl, mix all dry ingredients, including sugar.
  3. In a separate bowl, combine coconut oil and the 1/2 c almond milk. Melt in microwave on half power or for 10-20sec at a time until just melted. Mix in vanilla.
  4. In the middle of the dry mix make a hole and pour in the wet mix.
  5. With a fork, or a hand- or stand-mixer on low, combine wet into dry. It will probably be mostly gritty crumbs and not stick together.
  6. Add more milk as needed in 1/4-cup increments until the dough sticks together enough to roll into one big ball without looking shaggy (bits shouldn’t be sloughing off a lot if you pick it up)
  7. Take one of your parchment papers from your baking sheets and put it on the counter. Sprinkle flour on top of the paper, put the dough ball on that. Sprinkle more flour on dough and pat the dough into a flattish shape. Use a rolling pin (or press with the heel of your hand) to roll out your dough to a thickness of about 1/3″ (or about 1cm). Sprinkle more flour as needed while rolling it out. Try to roll it squarish if you can.
  8. Cut out your cookies into 2″ squares and transfer to papered baking sheet. I used a ravioli stamp, you could instead use a cookie cutter that’s round or square, or just cut them with a knife. If they want to stick to the paper, flour a thin spatula or knife and pick them up with that. Space about a half inch apart. When it’s all remainders, use your hands to squish the remainder into a new dough to stamp out the rest.
  9. Put cookies in oven and set timer to 10min.
  10. Put chocolate chips in a bowl and set aside. In another cup or bowl heat up 1/4 cup milk in microwave. Pour half of it over chocolate. Stir gently for about 30 seconds. If it does not melt fully, add a bit more milk, I didn’t use the full 1/4c and preferred toor microwave partially melted chocolate mix on 1/3 power in 20sec increments until it’s fully melted.
  11. Cookies need to bake for about 15min total but you will check and rotate them at 10min. To check them, remove the tray from the oven and look to see if there is a bit of blush at the outer corners of the cookies. You can also use a fork or spatula to lift a corner cookie gently and check the bottom. If the toasted area isn’t noticeable on at least 3 sides, put them back in the oven (rotate pan) and recheck every 5min. When they are blushed / toasted on at least 3 outside edges of the underside of the cookie, but the middle of the cookie’s underside is still not toasted, they are ready!
  12. Let cool on pan or rack for 10min.
  13. Gently pick up cookies and arrange them right next to each other.
  14. Re-melt chocolate in microwave at low power if it hardened up a bit; it needs to be wet. Now, using a fork held close above cookies, gently drizzle wet chocolate back and forth onto them.
  15. Before putting cookies in a container, let sit for 30mn (or refrigerate) to allow chocolate to lose its wet shine and fully set. Check by tapping with a finger, if you don’t make a mark then chocolate is set.
  16. Eat within about 4 days.
My clearance-bin ravioli stamp was not an efficient option for homemade ravioli but apparently it works great for cookies!
Cookies are done when the bottom is toasted all around but not in the middle.
Cookies artistically drizzled! Chocolate is still shiny and has not yet set.

(Note: un-drizzled cookies in back-right of photo are overdone, you can recognize this when the toasted edge has moved beyond just the outer tips of the corners that you see when the cookies are right-side-up, and the toasted color has crept up the the outside edges of the cookies’ flat sides)

October 22, 2020

Roasted Butternut Squash Tacos with Guacamole & Pickled Onions

by cillefish

Made these yesterday and they were VERY good.

Roasted Butternut Squash Tacos with Guacamole & (optional) Pickled Onions

Makes: about 6 tacos, with extra guac for chips on the side.

Time to make: about an hour and a half if you take the shortcuts. If you want properly pickled onions, make those a day ahead.

Ingredients:

Quick pickled onions (optional):

  • Small batch: 1 red onion, halved and then sliced thinly Pour in mix of: 1/4 c apple cider vinegar + 1/2 c warm water + 2 1/2 tsp salt, 1 ½ tsp sugar
  • Larger batch: 2-3 onions. ½ c apple cider vinegar, 1c warm water, 1 tbsp sugar, 1 ½ tsp salt

Guacamole:

  • ½ to 2/3 red or white onion, minced
  • 1 roma tomato or 1/2 big tomato
  • ½ to 1 clove garlic, crushed or mince very fine
  • 3 tbsp to ¼ c lime juice (depending on how acid you want the guac to be)
  • Salt
  • 3 avocados (normal sized; or ~5 little ones), firm but slightly tender to the touch
  • Olive oil (optional)
  • Black pepper or cayenne
  • Chips

Tacos:

Steps – short version:

  1. Pickle the onions: Put onions in jar, mix everything else and pour over. Set aside ~8hrs (see alternatives below).
  2. Cut up squash and set aside seeds. Toss squash with olive oil and spices and set aside to marinade.
  3. Preheat oven to 425 F
  4. For guac, mince onion/garlic/tomato and put in a bowl with lime juice to marinade ~10-15min before mixing in avocado and adding a bit of pepper. Add a bit of olive oil to make guac smoother. Put in fridge.
  5. Put squash on baking sheet in oven on middle rack. Put seeds on separate sheet on lower rack. Cook squash about 35 minutes, turning over every 10min with a spatula.
  6. Get toppings ready.
  7. Assemble tacos. Eat tacos!

Steps – detailed version:

  1. For the pickled onions: mix the water / vinegar / salt / sugar. Put sliced onions in a very clean jar. Pour mix over onions to cover them, close jar.
    • Proper method: Do this about 2-3 days ahead of time, keep onion jar in the freezer and shake occasionally to mix.
    • Quicker: Put onions in jar ~6-8 hours ahead of dinner. Close jar stick it in the sun for a few hours.
    • Quickest (onions still crunchy): Put onions in jar with no lid on and put in microwave on “3” / 30% power for ~2 minutes, and stir. As long as onions don’t get too hot, keep repeating stir-and-warm until purple color on onions start to bleed into the white part a bit. Set aside with lid on and let sit until tacos are ready.
  2. Cut top and bottom off of butternut squash. Cut into ~1 1/2in discs.
  3. Scoop out stringy bits from bottom part of squash, and pick out seeds along (no orangy bits). Set seeds aside in a small cup with just enough olive oil to wet them.
  4. For each disc, slice off skin (shouldn’t leave any green or whitish bits, those will be tough). Cut squash into large cubes, about 1 ½ in cubed, and put in a bowl.
  5. Thoroughly mix olive oil and mesquite spice, and pour over squash. Toss gently. Set aside for ~20min to marinade (or you can cheat and cook in microwave for a few minutes, tossing frequently).
  6. Preheat oven to 425 F
  7. Start guac: Mince onion, garlic, and tomato and place in very clean bowl with lime juice. Sprinkle with ~1/4 tsp salt. Optionally cover with saran wrap. Let sit a minimum of 10min, shaking occasionally to mix.
  8. The red/purple from the tomato & onion should start to bleed into the lime juice before you add in any avocado. Once that happens (at about 10-15min), halve avocado, hit seed with a knife and twist to remove seed, and use a spoon to scoop out flesh. Add to onion/lime mix and mash with a fork. Add pepper. If you like it smoother, add in a tablespoon of olive oil (you can add more if you prefer). Set aside in fridge.
  9. Put cubed, oiled squash on baking sheet in oven on middle rack and bake, turning over every 10min with a spatula, until sizzling and barely blackened, about 35-40min.
  10. While squash is cooking you can toast the seeds on another baking sheet on a separate rack. Watch them CAREFULLY and smell carefully – at this temperature nuts ands seeds can go from raw to burned very fast. These should be a light toast color or a pale walnut color but not black. When they’re the right color, remove immediately and use a spatula to put them in a small bowl. Set aside.
  11. When squash is done, if they’re oily put paper towels in a bowl and gently put cooked squash chunks on towels.
  12. Assemble tacos on tortillas: 1 spoonful of guac, add about 1/6 of the squash and on top, sprinkle: lettuce + onions + cheese + garlic chips and/or seeds.
  13. Serve with chips and guac.
  14. Enjoy!